Timeline for Facebook Pages

The dreaded timeline has made its way on to most everyone’s profile. By March 30th it will also be applied to Facebook pages.

Here are a few things to consider before you publish your page in the timeline format:

Cover Image
Many social media mavens have complained about the timeline for businesses. The main gripe involves what some developers call “fan gates,” or customized content based on the visitor’s fan status. The new timeline will show the same banner image to a person who likes your page as someone who does not. But there are still ways to offer customized apps- just not through the landing page.

The dimensions for the new Cover Image are 851 x 315 pixels. Of course your image doesn’t have to be that size- but something proportional to that will be best. And if you upload something larger you will have the option to scoot it around a bit. Continue reading Timeline for Facebook Pages

Free Wi-Fi Booster

Well, almost free.

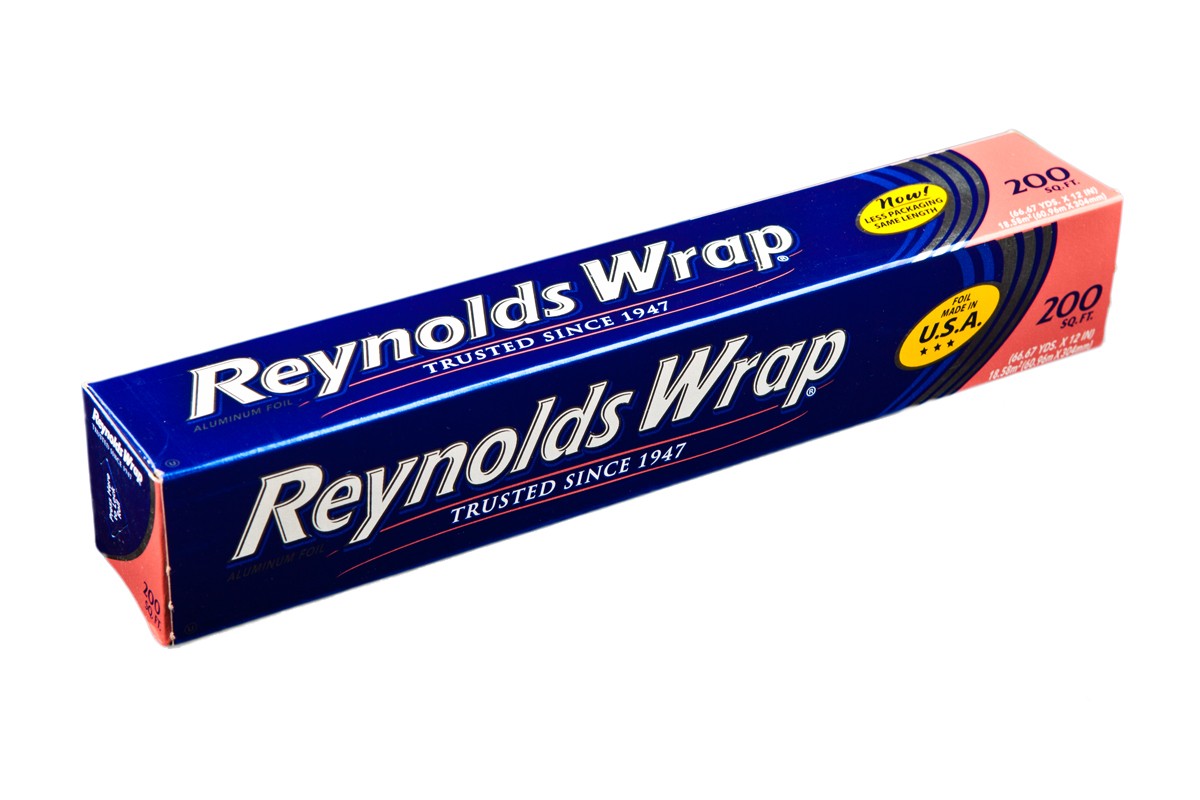
It takes a sheet of heavy paper, some aluminum foil and a few minutes of your time. So let’s just say insanely cheap.

Our wi-fi router is centrally located within our office. But the conference room, where the wi-fi is most often required, is separated from the router by multiple walls and lots of fluorescent light fixtures. A signal is obtainable- but the strength is meager at best.

Repositioning the router wasn’t really feasible so I started investigating wi-fi signal boosters and such. There are several options available ranging from add-on antennas to signal relays that attempt to extend the signal- supposedly up to 1 mile.

Then I came across this idea from Free Antennas.com. Using a simple cardboard parabola covered with foil it promised a 9 dBi gain. For free!

It took about 10 minutes to cut out a copy and place it on one of the antennas of our D-Link router. Just adding the one increased my signal in the conference room from Poor to Fair and 11 meg to 36 meg of bandwidth. I haven’t even got around to making one for the second antenna!

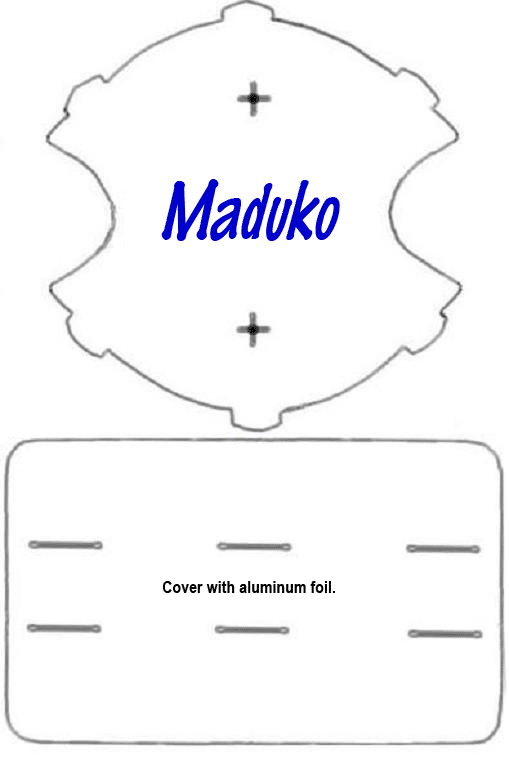
Of course I had to tweak their design just a smidge- see what you think…

Click the image to view the full-size version. Print it in heavy stock or acetate. You can even scale it up to increase the gain!

All you do is cut it out, cover the rectangle with foil then do the insert tab A into slots B. A little tape on the back side helps keep it all together. Poke holes through the X and slide it over your wi-fi antenna. For more details and specs check the page on Free Antennas.com.


Common Threads: What’s in it for me?

Sometimes nothing can be a very real something.

Patagonia is a well known maker of outdoor gear and clothing. They’re also renowned for their commitment to making products from sustainable materials and keeping the cast-offs out of landfills. To further the latter goal company executives recently launched a new section of their website devoted to used clothing. The storefront is connected to eBay auctions and displays Patgonia items posted by individual sellers.

Used gear is displayed alongside their own online store. Yet they derive no revenue from customers who opt for a pre-owned hoodie instead of a new one.

So what’s in it for Patagonia?

Not a thing. Well, not money anyway.

The program is part of Common Threads- a campaign that encourages customers to respect their Patagonia products, repair them if possible and recycle the old ones instead of just tossing them out. Conventional wisdom would dictate such antics would cannibalize sales. For Patagonia the effort is an exercise in building brand loyalty.

So far it appears to be working. In the first 3 months after rolling out the eBay portal for used clothing over 25,000 visitors had signed up for the Common Threads campaign.

Used Patgonia Gear powered by eBay


Bone Bondo

An update for those of you following my Knee Blowout…

Last week I saw the doctor for the first time since surgery. Bottom line is I have 4 more weeks of “no weight bearing” and cannot drive. Grrrrr.

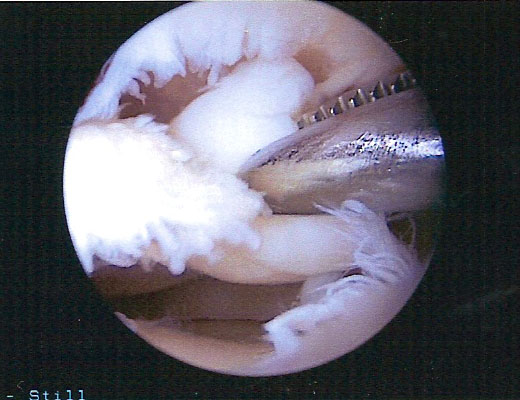
The doctor looked me over and his nurse removed the staples. He nodded and poked and said the swelling was about what he expected. Then he whipped out the photos from the surgery- which I was a bit reluctant to examine- but managed not to pass out.

After he explained some of the images I finally got to ask the question we’d been pondering for two weeks:

“What exactly did you put in my knee?”

He explained it’s a bone powder. The original plan to scrape some of me into the sinkhole was a no-go because the sinkhole was too big. But it wasn’t so large as to require a bone graft from a cadaver. So instead he spooged it full of this paste that is made from ground up human bone. Iyygh.

He explained it’s the consistency of cake frosting and grainy, as you might expect. Basically it’s Bone Bondo! After smoothing off he coats it with this collagen “glue” to keep it in place and sent me home. Over time my own bone will grow into this void, using the Bone Bondo as a sort of lattice to help fill the sinkhole.

Or so we hope.